Windows Defender is a free antivirus program from Microsoft. It can protect your computer against malware. But if you don’t think it is the best antivirus program or it can’t meet your demand, follow the methods below to disable the Windows Defender software in Windows 10. Here is the step-by-step tutorial.
Method 1: Disable Windows Defender temporarily
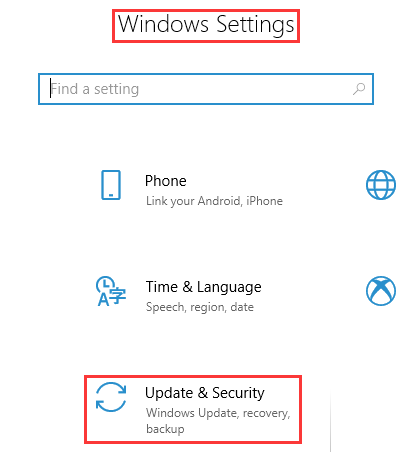
- Click “Settings” in the “Start Menu”. And then choose “Update & Security”
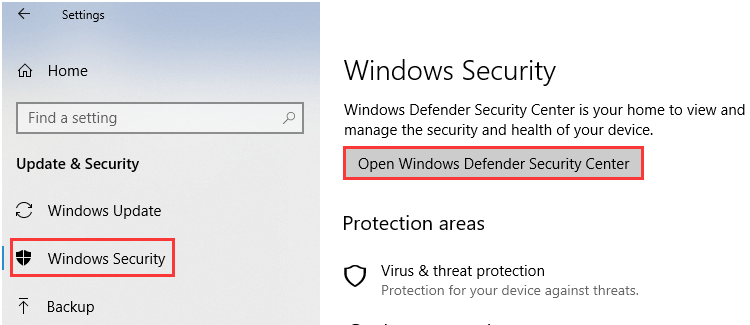
- Select “Windows Security” from the left pane and choose “Open Windows Defender Security Center”
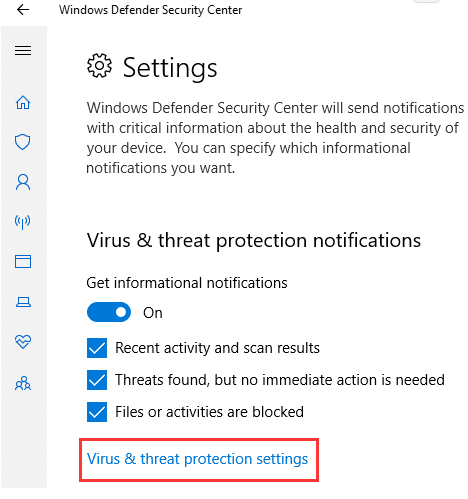
- Open Windows Defender’s settings, and then click on the “Virus & Threat Protection settings” link
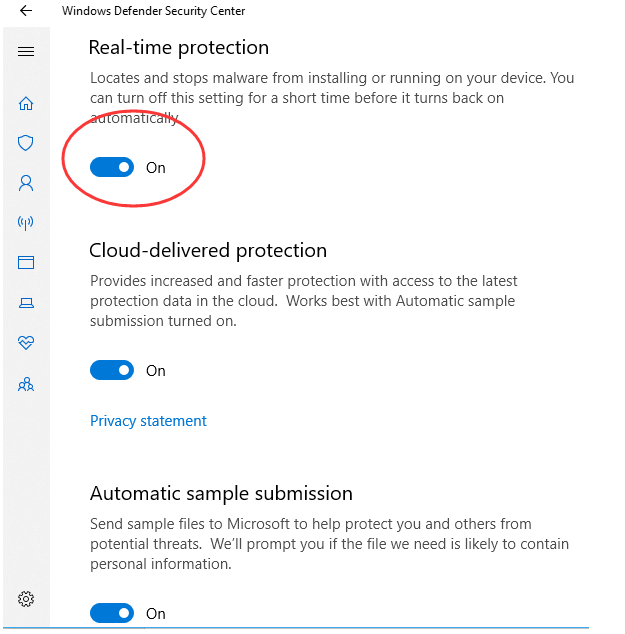
- Click the Real-Time Protection, Cloud-Delivered Protection and Automatic Sample Submission switches to disable Windows Defender
Method 2: Disable Windows Defender permanently
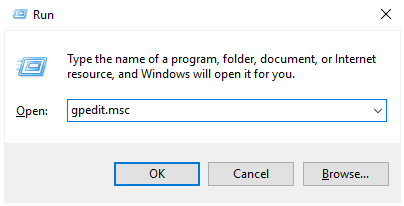
- Press “Win + R” and Type “gpedit.msc”, then hit Enter or OK
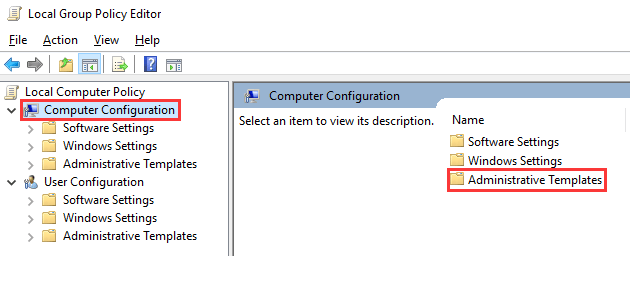
- Click on Computer Configuration and Administrative Templates
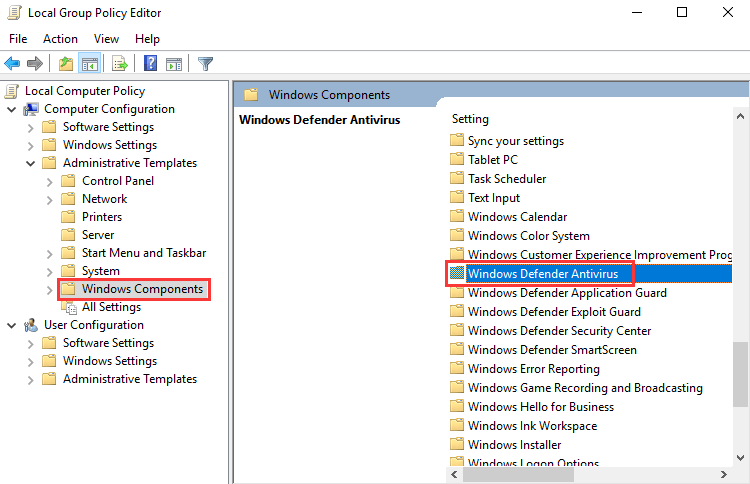
- Click on “Windows Components” and double click “Windows Defender Antivirus”
- Double click “Turn off Windows Defender Antivirus”
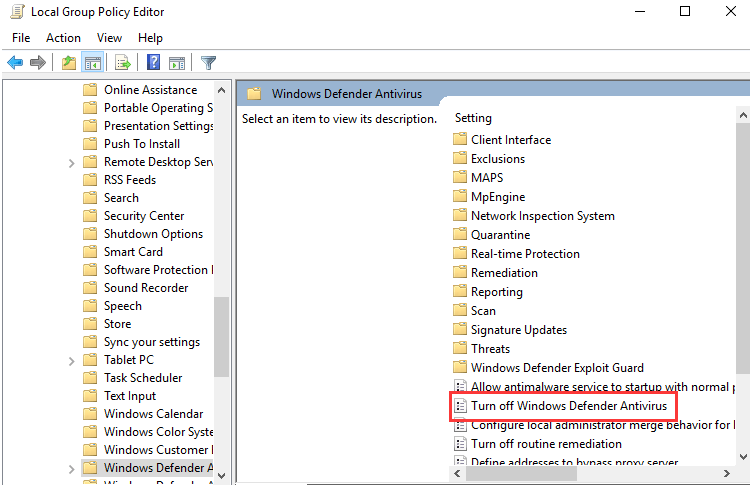
- At last, select the Enable button on the left edge and click OK
What’s Windows Defender?
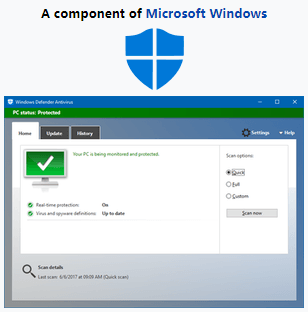 Windows Defender (known as Windows Defender Antivirus in Windows 10 Creators Update and later) is an anti-malware component of Microsoft Windows. It was first released as a downloadable free antispyware program for Windows XP, and was later shipped with Windows Vista and Windows 7/8/10. It has evolved into a full antivirus program, replacing Microsoft Security Essentials as part of Windows 8 and later versions.